What’s the difference between low and high in slow cookers?
Slow cookers have become essential kitchen appliances for busy households, offering a hands-off approach to preparing flavorful meals. At the core of their functionality are the two primary settings: low and high. These settings determine how quickly your food reaches the desired cooking temperature, impacting tenderness, flavor development, and safety.
Understanding the nuances between them can elevate your cooking game, ensuring consistent results whether you’re simmering a hearty stew or tenderizing tough cuts of meat. This comprehensive guide breaks down the key differences, provides practical advice, and includes tools like conversion charts to help you master your slow cooker.
Understanding the Basics of Slow Cooker Settings
Slow cookers, often referred to as Crock-Pots (a popular brand name), operate by heating food at low temperatures over extended periods. The low and high settings both aim to bring the contents to a simmer point, typically around 209°F (98°C), where liquids gently bubble and flavors meld. However, the primary distinction lies in the rate at which this temperature is achieved.
On the low setting, the slow cooker gradually ramps up heat, taking about 7-8 hours to reach the simmer point. This slower process allows for deeper flavor infusion and better breakdown of connective tissues in meats. In contrast, the high setting accelerates the heating, reaching the same simmer point in 3-4 hours. Despite the names, neither setting “cooks low” or “cooks high” in terms of final temperature; it’s all about speed.
This design stems from the appliance’s construction: a ceramic or stoneware insert surrounded by heating elements that provide even, indirect heat. The lid traps moisture and heat, creating a convection-like environment where steam circulates and cooks the food uniformly. Brands like Crock-Pot, Hamilton Beach, and Instant Pot offer models with these settings, but performance can vary slightly by model due to wattage differences—typically ranging from 200 to 300 watts.
Temperature Breakdown: Clearing Up the Confusion
One common source of frustration for home cooks is the perceived lack of heat on the low setting. The pot’s exterior might feel warm but not hot, leading some to question if it’s working. Rest assured, the internal liquid temperature is what matters. Both settings stabilize at approximately 209°F, but the journey differs.
- Low Setting Temperature Range: Starts at room temperature and slowly climbs to 190-200°F initially, stabilizing at 209°F after 7-8 hours. The gentle heat prevents rapid boiling, making it ideal for extended cooking without overcooking delicate ingredients.
- High Setting Temperature Range: Builds heat faster, reaching 200°F sooner and hitting the 209°F simmer in 3-4 hours. This can cause more vigorous bubbling, which is useful for reducing sauces or cooking denser foods quickly.
Why the confusion? Manuals often omit exact temperatures, and the pot’s walls remain cooler than the contents due to insulation. Testing with an instant-read thermometer (a worthwhile $10 investment) reveals the truth: food safety is achieved once internal temperatures exceed 165°F for meats. Slow cookers are designed to kill bacteria through prolonged exposure to heat above 140°F, but improper use can lead to issues.
Importantly, some models include an “auto” or “keep warm” setting, which switches from high to low after initial heating or maintains food at 165-175°F post-cooking. If your slow cooker has three settings, consult the manual for specifics, but guidelines remain similar.
Cooking Time Differences and Conversion Rules
Time is the most tangible difference between low and high. The low setting suits all-day cooking, while high fits shorter windows. A reliable rule: to convert from high to low, multiply the high cooking time by 1.5 to 2.5. For example, a recipe calling for 4 hours on high equates to 6-10 hours on low, depending on ingredients.
Here’s a practical conversion table based on standard guidelines:
| High Setting Time | Equivalent Low Setting Time |
|---|---|
| 3 hours | 6-7 hours |
| 4 hours | 8 hours |
| 5 hours | 9-10 hours |
| 6 hours | 11-12 hours |
This table assumes typical recipes like stews or roasts. Factors such as ingredient density, liquid volume, and slow cooker size influence exact times. For instance, a 6-quart model filled halfway cooks more evenly than an overfilled 4-quart one.
To visualize the decision process for choosing a setting, consider this flowchart:
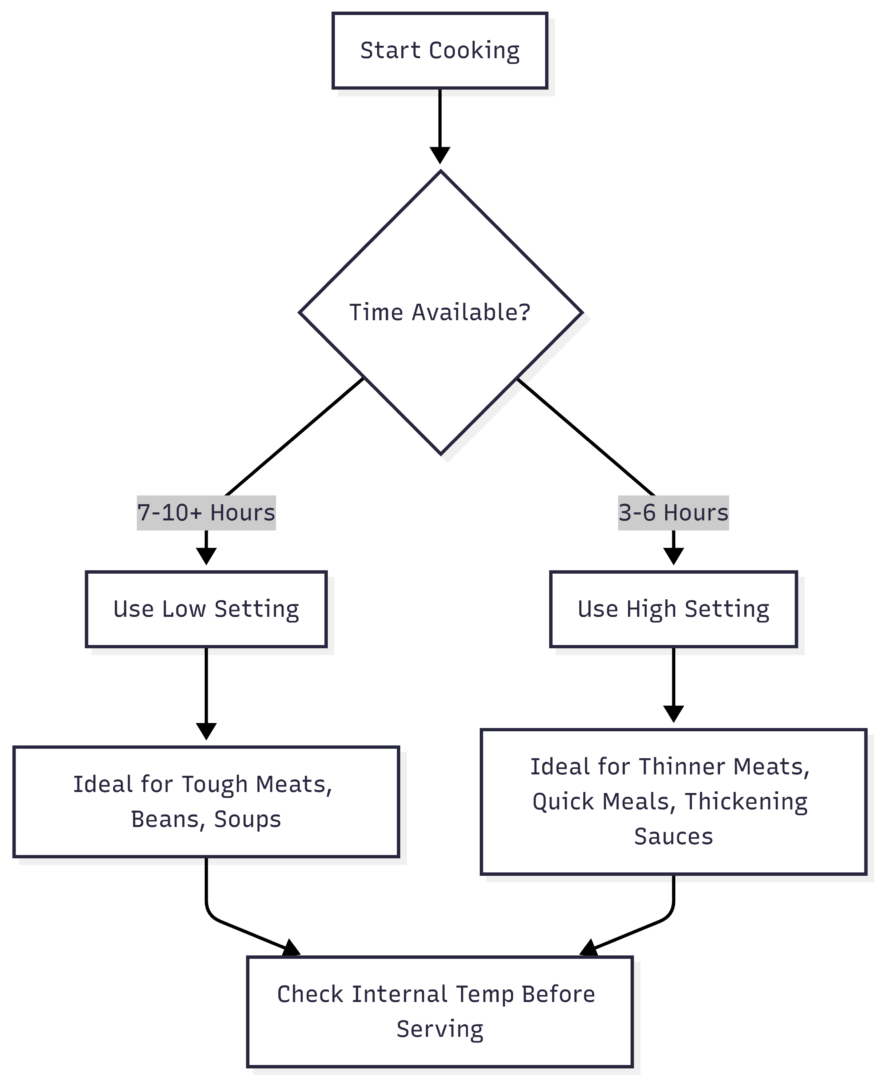
This diagram helps decide based on schedule and food type, ensuring you avoid common pitfalls like undercooking.
Best Uses for Each Setting
Choosing low or high isn’t just about time—it’s about optimizing texture and flavor.
When to Use the Low Setting
The low setting excels for recipes requiring gentle, prolonged heat. It’s perfect for:
- Tough cuts of meat like pot roast, brisket, or chuck roast, where collagen breaks down into gelatin for tenderness.
- Dried beans, which need slow simmering to neutralize natural toxins (e.g., lectins in kidney beans).
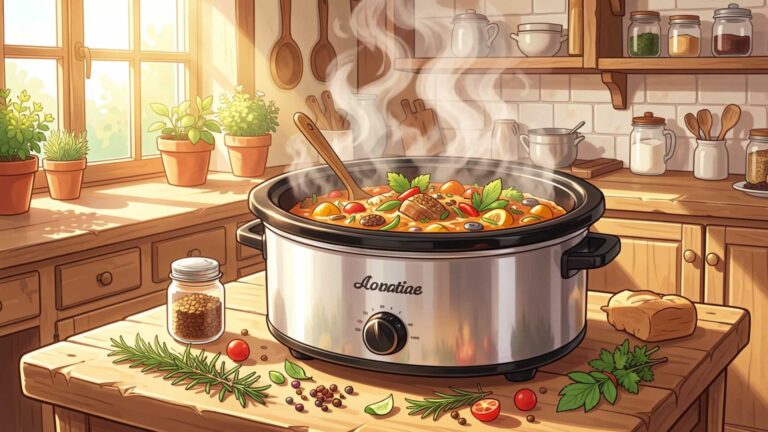
- All-day soups, stews, or bone broth, allowing flavors to develop without evaporation.
- Workday meals: Prep in the morning, return to a ready dinner after 8-10 hours.
Avoid low for delicate foods like fish or dairy-based sauces, which can become mushy or curdle. Also, skip it if your power supply is unreliable, as interruptions could keep food in the bacterial danger zone (40-140°F).
When to Use the High Setting
High is your go-to for efficiency:
- Faster cooking of thinner meats like chicken breasts or pork chops.
- Thickening sauces or reducing liquids in chilis and curries.
- Reheating leftovers or starting with partially frozen vegetables (though full thawing is safer).
- Weeknight dinners ready in 4-6 hours.
Steer clear of high for lean meats that dry out easily or for unattended cooking beyond 6 hours. Never use it for raw dried beans, as the quicker heat may not fully eliminate toxins—opt for low or pre-boil them.
In practice, many cooks start on high for 1-2 hours to jumpstart heating, then switch to low for the remainder. This hybrid approach balances speed and tenderness.
Key Tips for Slow Cooker Success
Maximizing your slow cooker’s potential requires attention to details beyond settings.
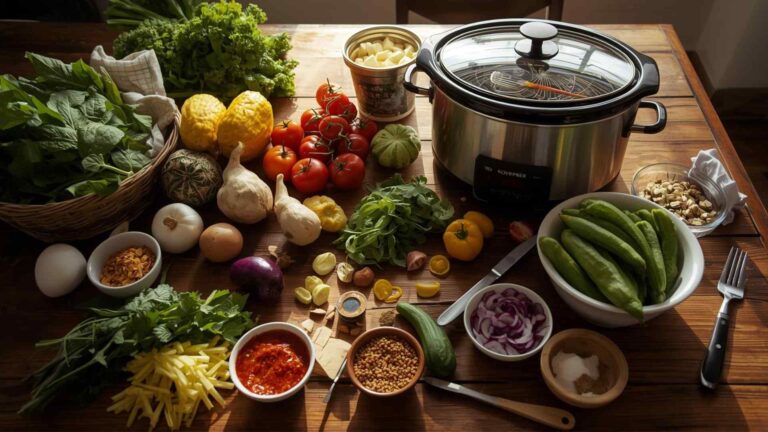
- Filling Guidelines: Aim for 1/2 to 3/4 full. Underfilling leads to faster cooking and potential burning; overfilling causes uneven heat and spills.
- Lid Discipline: Resist lifting the lid—each peek drops the internal temperature by 20-30°F, adding 20-30 minutes to cooking time. Use a clear lid if possible for monitoring.
- Ingredient Layering: Place denser items like root vegetables at the bottom near the heat source, meats in the middle, and delicate veggies or herbs on top. This ensures even cooking.
- Liquid Management: Slow cookers retain moisture, so reduce liquids from stovetop recipes by 25-50%. For example, a soup needing 4 cups on the stove might require only 2-3 in the slow cooker.
- Finishing Touches: Add fresh herbs, citrus, or dairy at the end to preserve brightness and prevent breakdown.
- Frozen Foods: Always thaw large items first to avoid prolonged time in the danger zone. Small frozen veggies are okay on high but monitor closely.
For model recommendations, consider the Crock-Pot 6-Quart Programmable Slow Cooker (around $50), which offers low, high, and warm settings with a digital timer. Higher-end options like the Instant Pot Duo 7-in-1 (about $100) combine slow cooking with pressure cooking, but stick to dedicated slow cookers for purists.
Safety Considerations: Avoiding Common Pitfalls
Food safety is paramount in slow cooking, where low temperatures can invite risks if mishandled.
- Bacterial Danger Zone: Food between 40-140°F breeds bacteria. Ensure your slow cooker reaches 140°F within 2 hours on either setting—test with a thermometer if unsure.
- Power Outages: If power cuts out for over 2 hours and food drops below 140°F, discard it to prevent illness.
- Raw Beans and Toxins: High won’t suffice; use low for at least 10 hours or pre-boil beans for 10 minutes.
- Meat Handling: Brown meats beforehand for better flavor and safety, though not mandatory. Always cook poultry to 165°F internally.
From user experiences, about 30% of failures stem from temperature myths, like assuming bubbles mean safety. Invest in a thermometer to verify.
Myth-Busting: Common Misconceptions
Slow cookers spark plenty of myths that can derail your efforts.
- Myth: High Cooks Hotter: No, both hit the same peak; high just gets there faster.
- Myth: Low is Safer for Everything: Not for delicate items—it can overcook them into mush.
- Myth: Set It and Forget It: Always check progress, especially with variables like fat content or vegetable size.
- Myth: Boiling on Low is Normal: If it boils vigorously, reduce liquid or check your model—low should simmer gently.
Home cooks often learn these the hard way, like discovering undercooked pork after assuming low was sufficient without verification.
Frequently Asked Questions
Here are answers to common queries based on expert insights.
The low setting stabilizes at around 209°F, but the pot starts cooler and builds gradually over 7-8 hours.
Yes, both settings exceed 140°F, killing bacteria through time and heat. Verify with a thermometer for safety.
It’s designed for simmering, not boiling. Low provides gentle heat; if no bubbles appear, check fill level or model functionality.
Cool quickly in shallow containers, refrigerate within 2 hours, and consume within 3-4 days. Reheat to 165°F.
It cooks faster but can reduce tenderness in tough meats. Use high for convenience, but low preserves moisture better.
Practical Applications: Recipes and Examples
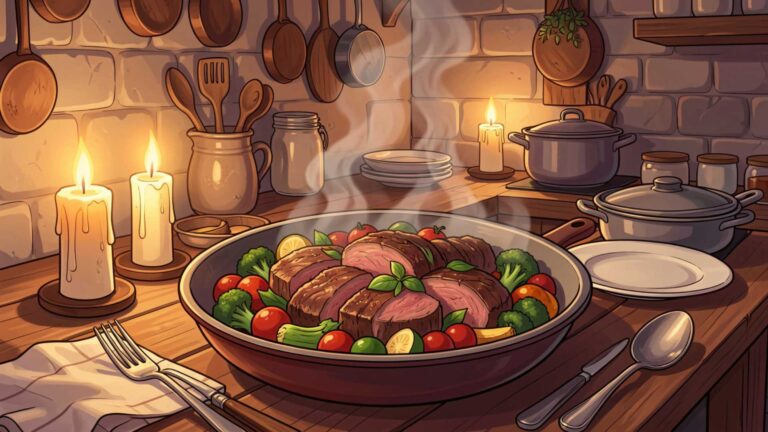
To apply these principles, consider a classic pot roast. On low: 8-10 hours for melt-in-your-mouth texture. On high: 4-6 hours if rushed, but expect slightly firmer results.
For chicken breasts: High for 3-4 hours to avoid drying; low risks mushiness.
Experiment with your model—track times and temperatures for personalized mastery.
In summary, the low and high settings on slow cookers offer flexibility for different lifestyles and recipes. By understanding their temperature dynamics, using conversion tools, and following safety tips, you’ll produce restaurant-quality meals effortlessly. Whether you’re a novice or seasoned cook, these insights ensure your slow cooker works smarter, not harder.
Please share this What’s the difference between low and high in slow cookers? with your friends and do a comment below about your feedback.
We will meet you on next article.
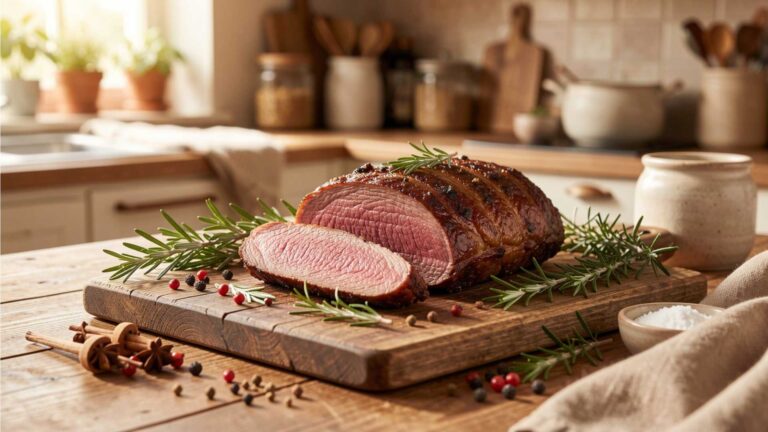
Until you can read, The Best Meat for Slow Cooking Is Also the Cheapest