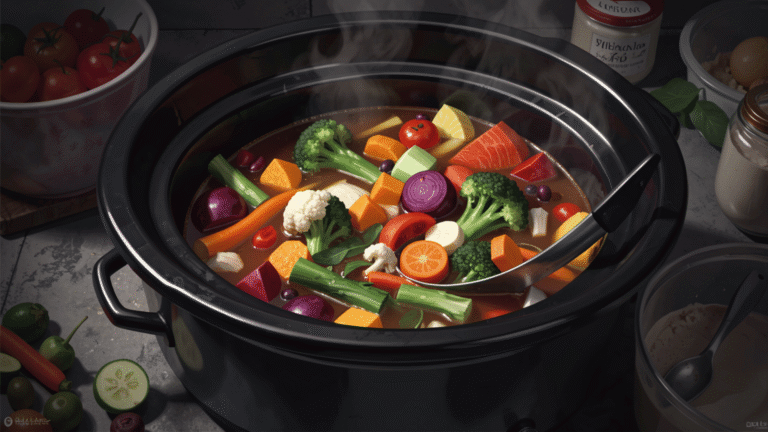
What’s the best way to layer ingredients in a slow cooker?
Slow cookers are designed for convenience, but tossing everything in randomly is one of the most common mistakes home cooks make. The order in which you layer ingredients directly affects how evenly everything cooks, how textures hold up over hours of heat, and how much flavor develops by the time you lift that lid. Get it right, and you’ll pull out a perfectly cooked, deeply flavored meal. Get it wrong, and you’ll end up with mushy vegetables, undercooked meat, or a watery, bland broth.
This guide breaks down the exact layering strategy you need, why it works, and how to apply it to any recipe.
Why Ingredient Order Matters in a Slow Cooker
Slow cookers heat from the bottom and sides. The ceramic insert sits directly against the heating element, which means the temperature at the base is consistently higher than at the top. This uneven heat distribution is by design — it creates a gentle, sustained simmer — but it also means that ingredients placed at different heights will cook at different rates.
Dense, starchy vegetables like potatoes and carrots need the most time and direct heat to soften. Proteins like beef or pork need sustained low heat to break down connective tissue and become tender. Delicate items like dairy, leafy greens, or fresh herbs will turn grainy, mushy, or bitter if exposed to hours of heat. Layering puts each ingredient in its optimal position relative to the heat source.

The Optimal Slow Cooker Layering Order
Layer 1 — Bottom: Root Vegetables and Dense Produce
Carrots, potatoes, turnips, parsnips, beets, and onions go on the bottom. These vegetables take the longest to cook and benefit most from the direct heat at the base of the pot. They also act as a natural rack, elevating the meat slightly and allowing juices to pool around them.
Cut these into uniform chunks — roughly 1 to 1.5 inch pieces — so they cook evenly. If pieces are too large, they’ll still be firm when everything else is done. Too small, and they’ll turn to mush.
What belongs on the bottom:
- Potatoes (all varieties)
- Carrots and parsnips
- Turnips and rutabaga
- Beets
- Onions (halved or quartered)
- Celery root
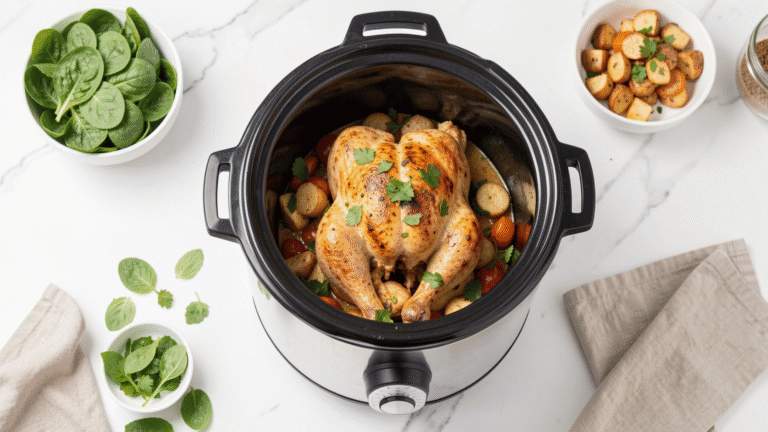
Layer 2 — Middle: Proteins
Meat goes directly on top of the vegetables. This placement serves several purposes: the vegetables cushion the meat from direct contact with the hot base, the juices from the meat baste the vegetables below, and the meat sits in the rising steam and liquid as it cooks.
Whether you’re using a whole chicken, beef chuck roast, pork shoulder, or chicken thighs, nestle the protein firmly into the center of the pot on top of the vegetable layer.
Critical step: Sear your meat first. Before placing protein in the slow cooker, brown it on all sides in a hot skillet with a small amount of oil. This step takes 3 to 5 minutes and is not optional if you want depth of flavor. The Maillard reaction — the browning that occurs when proteins hit high heat — creates hundreds of flavor compounds that slow cooking alone cannot replicate. A pale, unbrowned piece of meat will produce a pale, flat-tasting dish.
Layer 3 — Aromatics and Dry Seasonings
Once the protein is in place, add your aromatics: whole garlic cloves, bay leaves, dried herbs, whole peppercorns, and hard spices like cumin seeds or coriander. Tuck these around and on top of the meat. Dried herbs and spices can go in at this stage because they need the full cooking time to bloom and infuse into the liquid.
Early vs. Late Seasoning — What Goes When:
| Ingredient | Add At Start | Add At End |
|---|---|---|
| Dried herbs (thyme, rosemary, oregano) | ✓ | |
| Whole spices (bay leaf, peppercorn, star anise) | ✓ | |
| Ground spices (cumin, paprika, chili powder) | ✓ | |
| Salt | Partial | Adjust at end |
| Fresh herbs (parsley, basil, cilantro) | ✓ | |
| Lemon zest or juice | ✓ | |
| Delicate spices (saffron) | Last 30 min | |
| Fish sauce or soy sauce | Small amount | Adjust at end |
Salt deserves special attention. Add a conservative amount at the start — broth concentrates as moisture evaporates slightly, and what tastes right at the beginning can turn overly salty by the end. Always taste and adjust seasoning in the final 15 to 30 minutes.
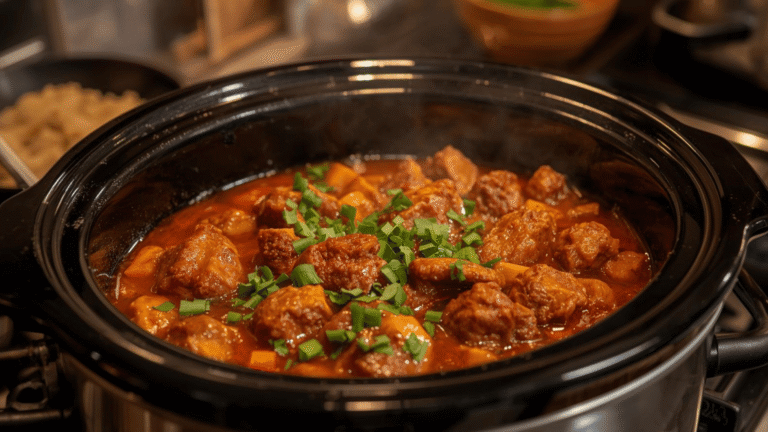
Layer 4 — Liquids and Sauces
Pour liquids in after everything else is in place. Broth, stock, wine, coconut milk, tomato sauce, or water gets poured over the top of the meat and vegetables. The liquid will filter down through the layers, picking up flavors as it goes.
How much liquid to add: This is where many people go wrong. Slow cookers trap moisture — there is almost no evaporation, unlike stovetop or oven cooking. Use far less liquid than you would for a conventional recipe. For most dishes, ½ to 1 cup of liquid is sufficient. If using a sauce-based recipe like a curry or chili, the sauce itself provides enough moisture.
Adding too much liquid dilutes flavor and creates a watery result. If you end up with excess liquid at the end, remove the lid, turn to high, and let it reduce for 20 to 30 minutes, or transfer it to a saucepan and reduce it separately.
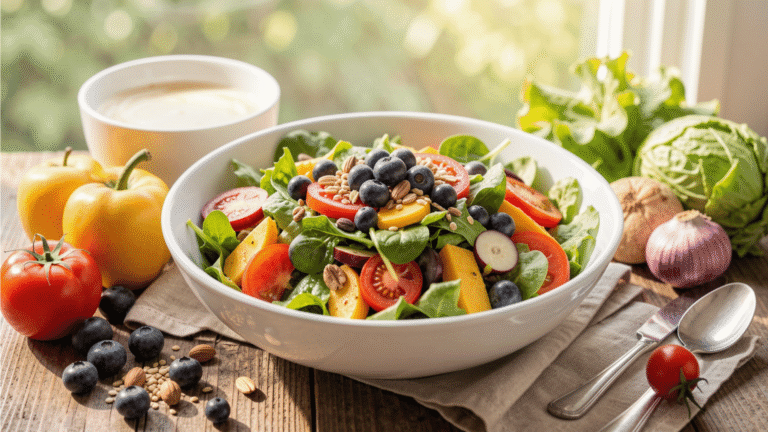
Layer 5 — Top: Faster-Cooking Vegetables
Softer vegetables that don’t need the full cooking time go on top, where temperatures are lower. Zucchini, mushrooms, bell peppers, corn, green beans, and similar vegetables can turn to mush if cooked for 6 to 8 hours. Placing them at the top, especially for the last 1 to 2 hours of cooking, preserves their texture.
For dishes that cook all day (8+ hours), consider adding these vegetables only in the final 2 hours by briefly removing the lid, placing them on top, and replacing the lid quickly.
Flavor Layering: The Science Behind Better-Tasting Slow Cooker Food
Layering ingredients isn’t just about cooking times — it’s about building flavor at every stage. Professional cooks think of flavor in terms of foundation, body, and finish.
Foundation flavors are built before anything goes in the slow cooker: searing meat, sweating onions in butter, blooming whole spices in oil. These steps take minutes but provide hours of flavor payoff.
Body flavors develop during the long cook: collagen in tougher cuts breaking down into gelatin (which gives the sauce its rich mouthfeel), dried herbs releasing their essential oils into the liquid, aromatics slowly mellowing.
Finish flavors are added at the end: a squeeze of lemon, fresh herbs, a splash of vinegar, freshly cracked pepper. These bright, volatile flavors would be destroyed by long cooking but are essential to making the final dish taste alive rather than flat.

Herbs vs. Spices: Timing Makes the Difference
Not all seasoning behaves the same under heat. Understanding which flavoring agents improve with long cooking and which ones degrade is central to getting slow cooker food right.
Spices and dried herbs improve with time. Ground cumin, paprika, chili powder, dried oregano, thyme, and rosemary need heat and time to release their aromatic compounds into fat and liquid. Add these at the beginning.
Whole spices are even more forgiving. Bay leaves, cinnamon sticks, star anise, cardamom pods, and cloves can go in at the start and slowly steep throughout cooking, much like a long-simmered stock.
Fresh herbs are destroyed by prolonged heat. Basil, parsley, cilantro, chives, dill, and tarragon all contain volatile aromatics that evaporate quickly when heated. Add these in the final 10 to 15 minutes, or better yet, use them as a garnish right before serving.
Exception: Woody fresh herbs — rosemary, thyme, and sage — are hardier and can tolerate longer cooking times. They can be added at the start if tied into a bouquet garni, then removed before serving.
| Herb/Spice Type | Example | When to Add |
|---|---|---|
| Ground spices | Cumin, paprika, turmeric | Start |
| Whole spices | Bay leaf, cinnamon stick | Start |
| Dried hardy herbs | Dried thyme, rosemary, oregano | Start |
| Fresh woody herbs | Fresh rosemary, thyme | Start (remove before serving) |
| Fresh tender herbs | Basil, parsley, cilantro | Last 10–15 minutes |
| Citrus zest | Lemon, orange | Last 15 minutes |
| Fresh garlic (raw) | Minced or sliced | Start (mellows) |
What to Add Last: Dairy, Pasta, and Delicate Ingredients
Several common slow cooker ingredients will ruin the dish if added too early.
- Dairy: Milk, cream, sour cream, yogurt, and soft cheese all curdle or separate under prolonged high heat. The proteins denature and the emulsion breaks, leaving an unappetizing grainy texture floating in watery liquid. Add all dairy products in the final 15 to 30 minutes of cooking with the heat turned to low or off. Use full-fat versions — the higher fat content makes them more stable.
- Pasta and rice: Both absorb liquid aggressively and turn mushy after hours of cooking. Cook pasta separately and stir it in just before serving. If using rice, add it in the final 45 minutes to 1 hour on low heat.
- Seafood: Shrimp, fish fillets, and scallops cook in minutes. Add these in the final 20 to 30 minutes on low. Overcooked seafood turns rubbery and falls apart.
- Canned beans: Pre-cooked canned beans only need to warm through. Add them in the last 30 to 45 minutes. Dried beans, by contrast, should be cooked separately before adding, as their long cooking time and the presence of acids (tomatoes, vinegar) can prevent them from ever softening fully.
- Leafy greens: Spinach, kale, and chard wilt down to almost nothing and become slimy if cooked for hours. Stir them in 10 to 20 minutes before serving.
Fill Level and Capacity: Getting It Right
The amount of food in your slow cooker affects how evenly it cooks and whether the temperature reaches a safe zone quickly enough.
The 1/2 to 2/3 rule: Fill your slow cooker at least half full (otherwise it heats too fast and food can dry out or burn) but no more than two-thirds full (to leave room for bubbling and to ensure proper heat circulation). Overfilling slows the time it takes for the contents to reach a safe cooking temperature and can result in uneven cooking.
| Fill Level | Result |
|---|---|
| Less than 1/2 full | Food overheats, liquid evaporates, burning risk |
| 1/2 to 2/3 full | Optimal — even heat, proper simmering |
| More than 2/3 full | Slow to heat, uneven cooking, overflow risk |
The Lid Rule: Don’t Lift It
Every time you remove the lid, the slow cooker loses 20 to 30 minutes of accumulated heat. The steam that builds up under the lid is part of the cooking environment — it circulates heat and moisture. Lifting the lid disrupts this. Resist the urge to stir or check unless a recipe specifically instructs you to add ingredients at a certain stage.
If you need to check on your food, do it in the final 30 to 60 minutes when the dish is nearly complete.
Quick Reference: Slow Cooker Layering Cheat Sheet

Common Mistakes and How to Fix Them
- Vegetables still hard after full cook time: They were likely cut too large or placed on top instead of the bottom. Cut into smaller, uniform pieces and always put dense vegetables directly on the base of the pot.
- Meat is dry or stringy: Lean cuts like chicken breast dry out easily in slow cookers. Use bone-in, skin-on chicken thighs or legs, or tougher cuts like chuck roast or pork shoulder, which have enough fat and connective tissue to stay moist. If using chicken breast, cook on low and add it to the top of the pot (not submerged).
- Dish tastes bland: Either not enough seasoning was added at the start, or it was all added at the end. Use the layering approach: season at the start with dried spices, adjust at the midpoint if accessible, and finish with bright, fresh flavors at the end.
- Too much liquid: You added a conventional recipe’s full liquid amount without adjusting for the sealed slow cooker environment. Reduce liquid by 30 to 50% compared to stovetop recipes. To fix an already watery dish, remove the lid and cook on high for the last 30 minutes, or strain out the liquid and reduce it in a saucepan.
- Dish is mushy overall: The slow cooker was overfilled, or delicate ingredients were added too early. Follow the timing guidelines for pasta, dairy, seafood, and soft vegetables.
Getting layering right is the single biggest upgrade you can make to your slow cooker cooking. It doesn’t require extra ingredients or extra time — just a deliberate order of operations. Dense vegetables on the bottom, seared protein in the middle, dry seasonings tucked around the meat, liquid poured over the top, and delicate additions held back until the final stretch. Follow this framework consistently and your slow cooker results will be fundamentally better, every time.
Please share this What’s the best way to layer ingredients in a slow cooker? with your friends and do a comment below about your feedback.
We will meet you on next article.
Until you can read, Slow Cooker Cooking Times Chart (LOW vs HIGH Guide)